
TL;DR
Set up an automated DCA strategy directly inside your wallet using Mimic Protocol. This guide walks you through creating a function that lets you buy any ERC-20 token for a fixed amount of another ERC20 token periodically in any supported network, with schedules & slippage protection, and deployed to the Mimic Protocol.
Quick Details
- Function type: recurring DCA swap
- Flow: swap ERC20 → ERC20 periodically
- Key inputs: amount, assets, slippage tolerance, recipient, chain, schedule
This is just an example, Mimic Protocol allows for any type of logic to create a DCA strategy.
What You Need to Get Started
Understand the DCA Flow
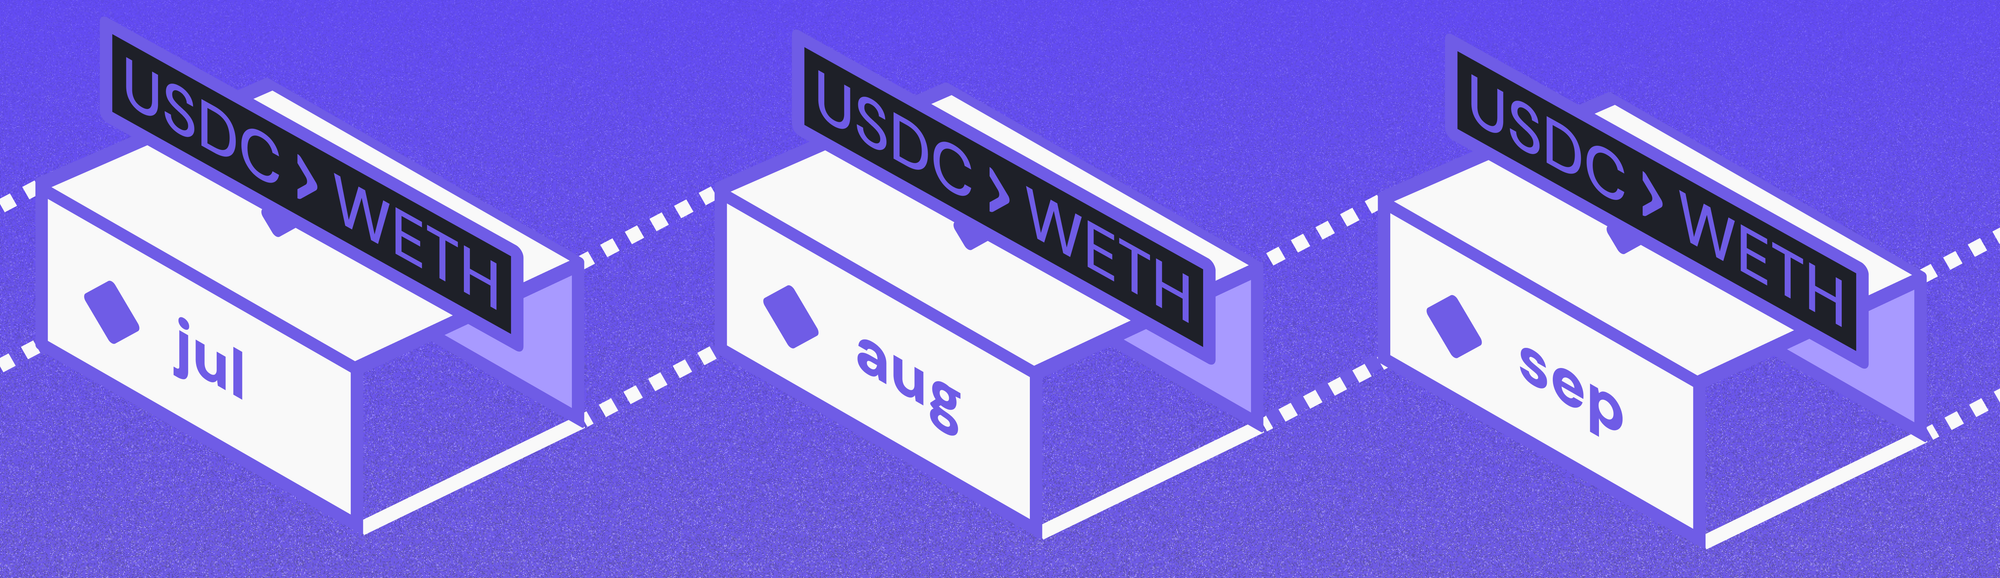
Dollar-cost averaging means investing a fixed amount of a token at regular intervals:
- In this example, USDC → WETH, in any of the supported chains
- Use slippage protection (e.g. 0.5%)
- Send purchased tokens to your wallet
Mimic Protocol automates this as a function:
- Trigger: cron (weekly)
Define the Function
1. Initialize project
Start a new working directory to develop your function:
npx @mimicprotocol/cli init ./my-mimic-function2. Update your manifest.yaml
The manifest file provides the configuration for your function, including:
- Metadata: Name, description, and version of the function.
- Inputs: Parameters required by the function logic.
- ABIs: Smart contract ABIs to generate type-safe interfaces for the function.
Save this configuration in the manifest.yaml file:
version: 1.0.0
name: DCA WETH Purchase
description: Dollar-cost averaging function that swaps USDC to WETH
inputs:
  - chainId: uint32
  - usdc: address
  - weth: address
  - amountUsdcDecimal: string
  - slippageBps: uint16
  - recipient: address
You can adapt this to any DCA you want to create, just change USDC and WETH for your desired tokens. Also feel free to delete the "recipient: address" if it's the same wallet.
3. Generate types
This steps allows you to validate the manifest definitions and generate the corresponding code to access both your declared inputs and the contract objects for your declared ABIs.
To do this you can run the codegen command using the CLI:
yarn mimic codegen
4. Write the function logic
The function logic is implemented in AssemblyScript and must export:
- Input type: The generated
inputstype from the previous step. - Main function: The core function logic, which receives the inputs as an argument.
Create a file ./src/function.ts (or update the pre-existing one), and implement the logic:
import { ERC20Token, log, SwapBuilder, TokenAmount } from '@mimicprotocol/lib-ts'

import { inputs } from './types'

export default function main(): void {
  // Log input parameters
  log.info(
    `Starting DCA swap: amountFromToken=${inputs.amount}, slippageBps=${inputs.slippageBps}, chainId=${inputs.chainId}, recipient=${inputs.recipient}`
  )

  // Create token instances
  const tokenIn = ERC20Token.fromAddress(inputs.tokenIn, inputs.chainId)
  const tokenOut = ERC20Token.fromAddress(inputs.tokenOut, inputs.chainId)

  // Create amount from decimal string and estimate amount out
  const amountIn = TokenAmount.fromStringDecimal(tokenIn, inputs.amount)
  const expectedOut = amountIn.toTokenAmount(tokenOut).unwrap()
  // Apply slippage to calculate the expected minimum amount out
  const minAmountOut = expectedOut.applySlippageBps(inputs.slippageBps as i32)
  log.info(`Calculated minOut: ${minAmountOut} (equivalent=${expectedOut}, slippageBps=${inputs.slippageBps})`)

  // Create and execute swap
  SwapBuilder.forChain(inputs.chainId)
    .addTokenInFromTokenAmount(amountIn)
    .addTokenOutFromTokenAmount(minAmountOut, inputs.recipient)
    .build()
    .send()

  log.info('DCA swap executed successfully')
}
You can set up a DCA (Dollar-Cost Averaging) strategy with any ERC-20 token across all supported chains, including Arbitrum, Base, Base Sepolia, Ethereum, Gnosis, Optimism, and Sonic.
This is a USDC → WETH DCA setup. You can replace these with any ERC-20 tokens of your choice (just make sure to specify the correct decimals and token symbol).
Every function is fully customizable, so you can adapt it to your preferred configuration. For details, explore the Mimic Protocol Library.
For now Mimic functions allows creating three types of intents: transfers, generic calls, and crosschain swaps.
5. Compile
The compile process converts your function logic and manifest into deployable artifacts:
build/function.wasm- Compiled WebAssembly binarybuild/manifest.json- Processed manifest configuration
Run the compile command:
yarn mimic compile
By default, outputs are saved in the build directory.
Here is an example of the output produced by this command:
build/
├── function.wasm     # Compiled WASM binary
├── manifest.json     # Validated manifest
6. Deploy your function
This is where you upload your function artifacts to the network so others can discover it. To do this you can run the deploy command using the CLI:
yarn mimic deploy --api-key [DEPLOYMENT_KEY]
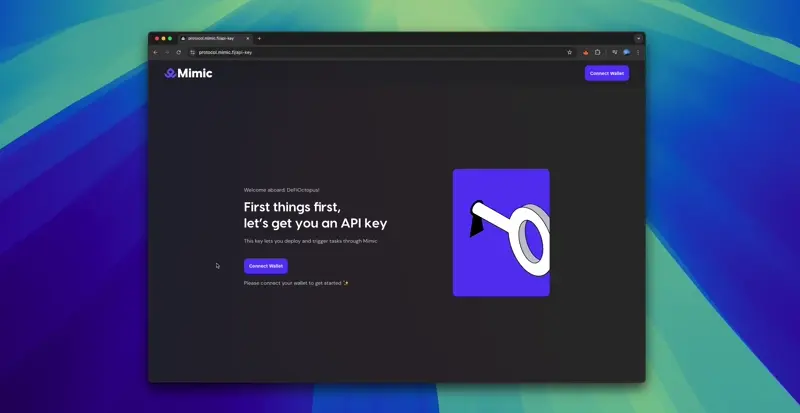
You can generate a deployment key from the protocol app, where you can login using your wallet.
Link to Mimic Protocol Explorer: https://protocol.mimic.fi/
This command will deploy the generated artifacts from the build directory by default.
This command will upload your artifacts to the Mimic Registry (which stores them on IPFS) and pin the resultant CID so it can be discovered by others. The CID is also written to CID.json in the specified output directory.
7. Give allowance to the Mimic settler
Before you configure your function in the dashboard, you must allow the Mimic Settler contract to spend tokens on your behalf.
To grant this permission:
- Open your network’s block explorer and find your spending token contract.
- Connect your wallet.
- Set the Mimic Settler as the spender address.
- Approve the contract so it can manage the tokens needed for your function.
Mimic Settler contract:
0x609d831c0068844e11ef85a273c7f356212fd6d1
In this example, we are going to be using USDC on Base. You can go to the smart contract on basescan, click on "write as proxy", connect your wallet, and add approval to the Mimic settler.
https://basescan.org/address/0x833589fCD6eDb6E08f4c7C32D4f71b54bdA02913#writeProxyContract
The spender is the Mimic settler, and the value depends on the token you want to use in uint256 (USDC has 6 decimals, so the amount + 6 extra zeros).
If you want to allow 20 USDC spending limit, you would write 20000000 (20 + 6 zeroes). Most explorers allow to add them easily as shown below.

8. Configure your function
After deploying your function, you can now add a trigger, to tell which trigger relayers should use to run your function. This means defining the parameters declared in your manifest.yml file. This is done in the explorer UI where you will be requested to sign your trigger with your wallet or with the SDK.
- Open the explorer and locate the function you just deployed under the functions section.
- Add or edit your trigger parameters
- Sign the new trigger
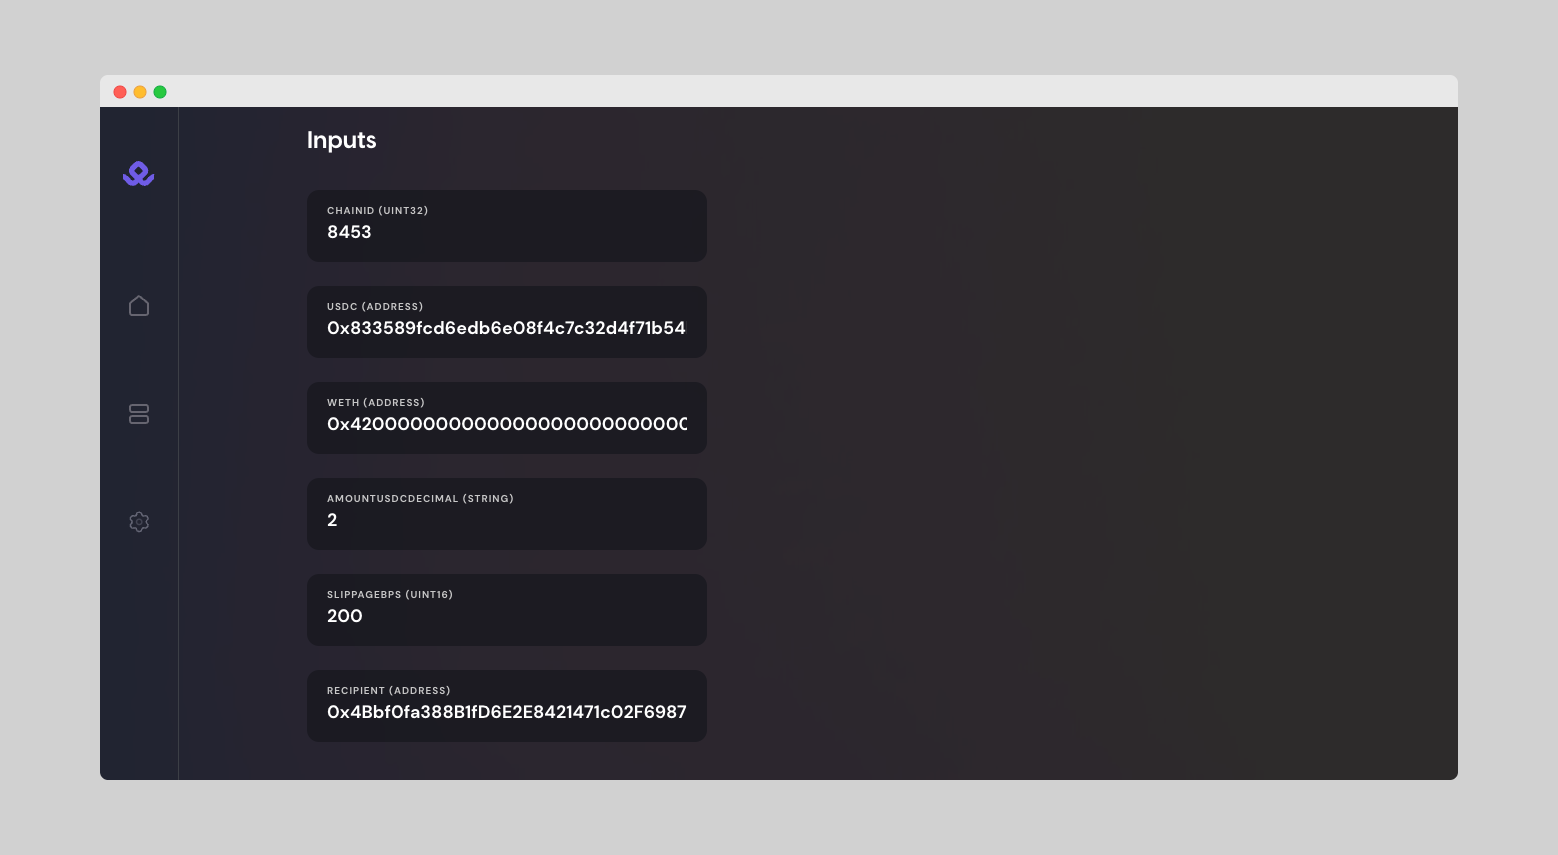
In this example:
8453 // CHAINID (Base)
0x833589fcd6edb6e08f4c7c32d4f71b54bda02913 // USDC (Base)
0x4200000000000000000000000000000000000006 // WETH (Base)
2 // AmountUSDDecimal, in this example 2 USDC
200 // 2% Slippage in basis point (1% = 100)
Then set the the execution fee limit (you can set 0, which means no limit), the execution mode, and the the cron trigger:
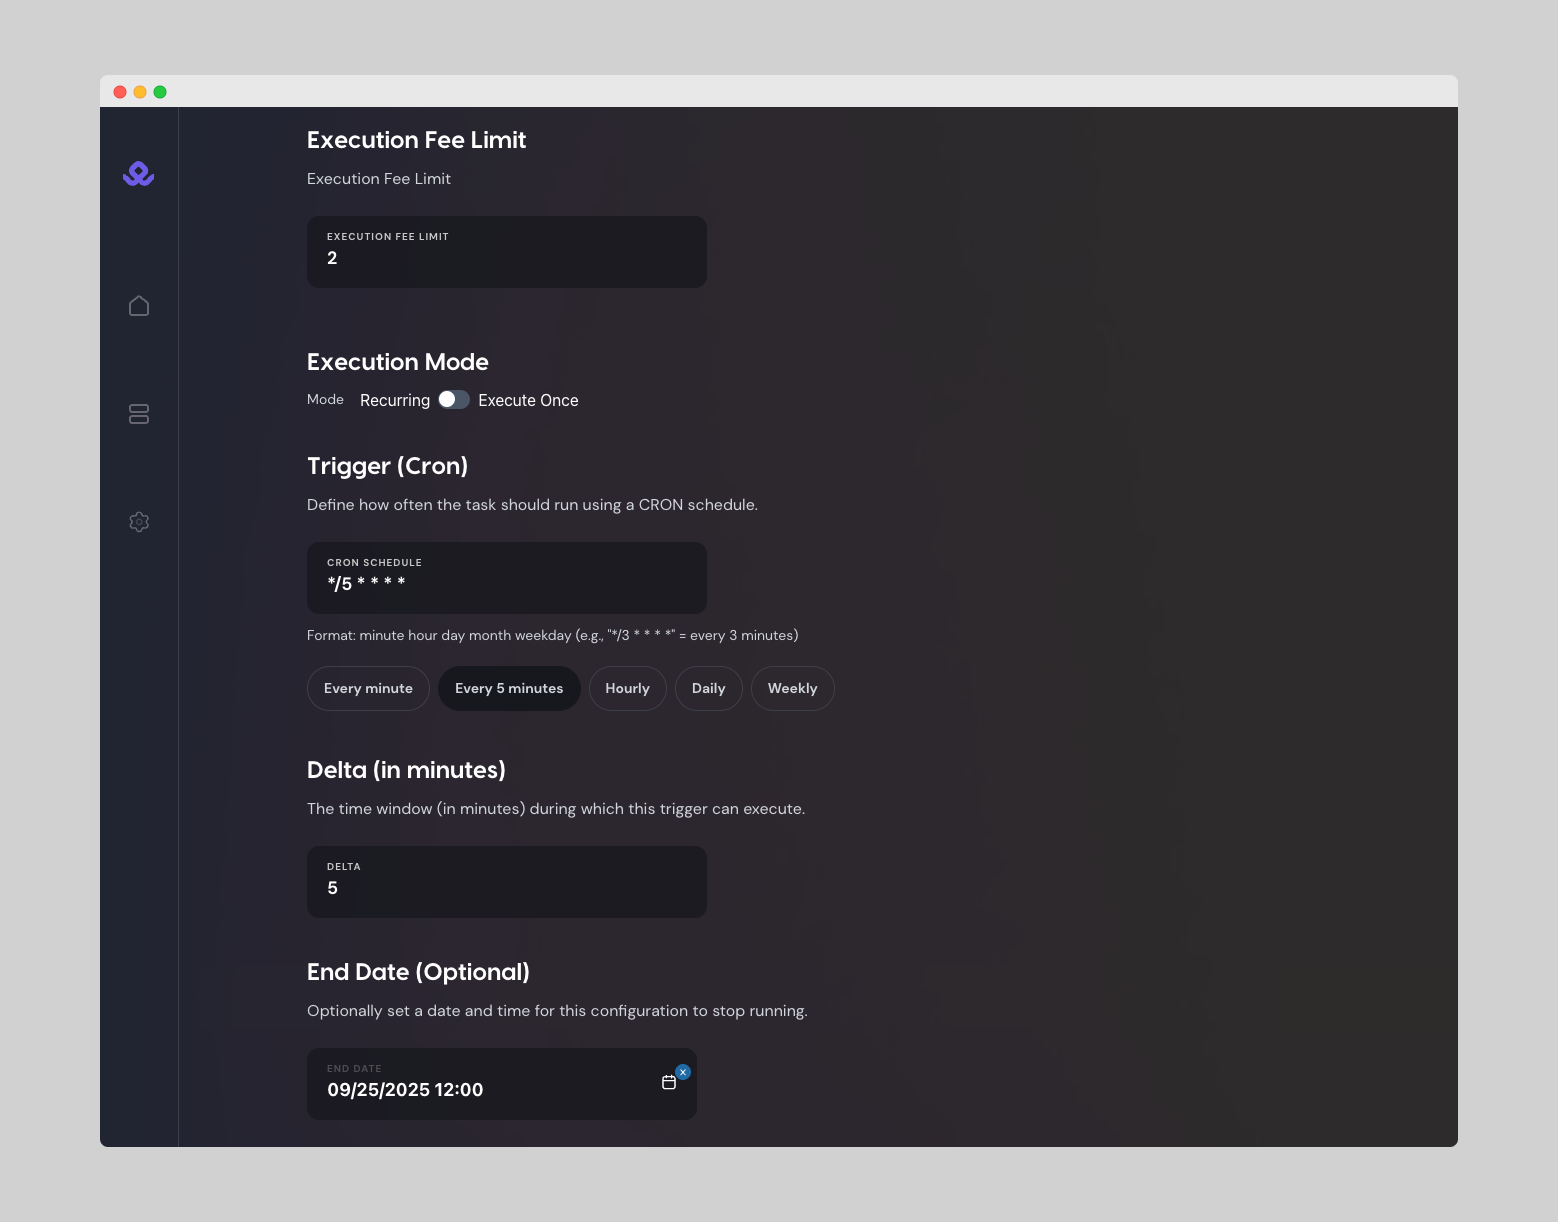
Finally set the delta (time window to execute), the end date (optional), and sign with your wallet
This signature ensures relayers know the trigger is authorized by the function owner.
You can update or deprecate this trigger at any point in time to reflect changes, without needing to redeploy the function code again. Just sign the new trigger in the explorer, and relayers will pick up the latest version.
You will get a confirmation message: Function created successfully!
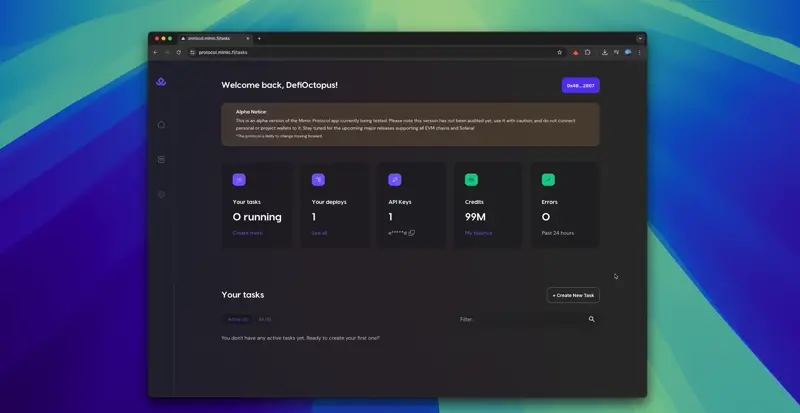
Below, you can see a summary of the function (how many runs, completions, and errors), as well as the recent executions and all details about it (inputs, trigger, creation date…).
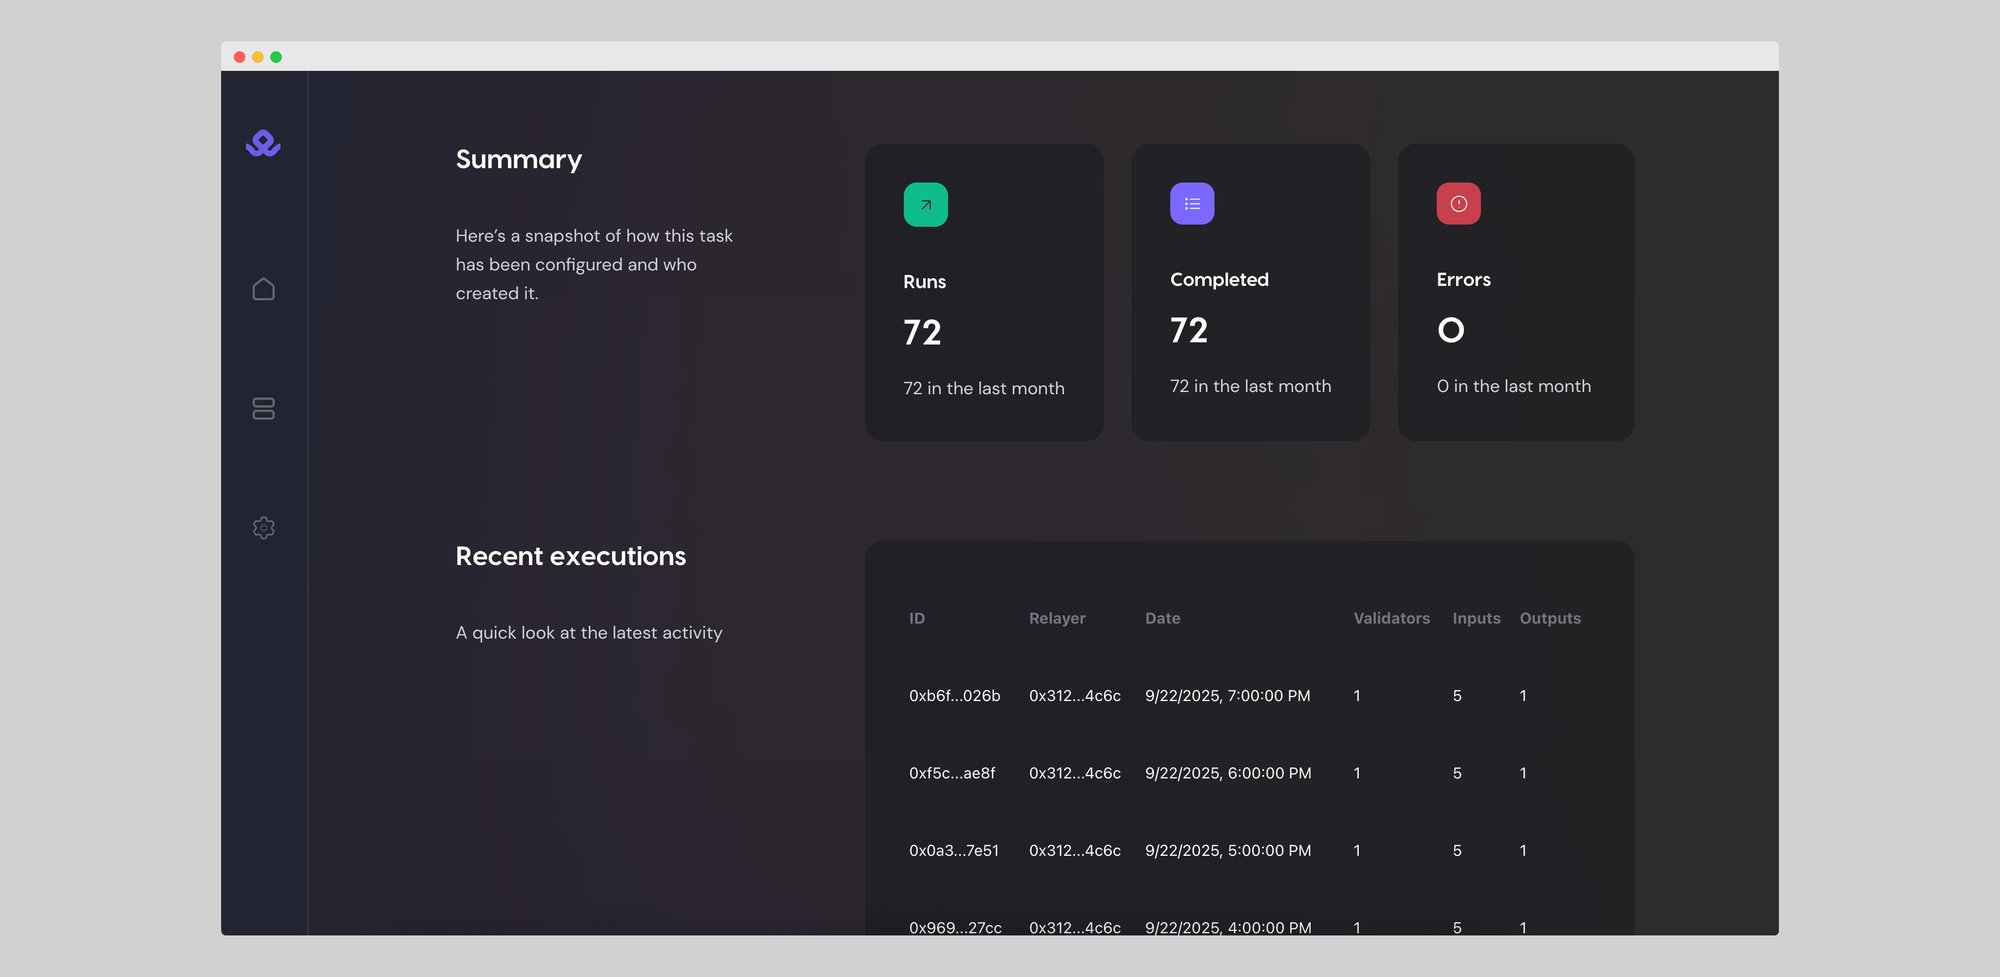
If you press on any of the recent executions, you can get a full execution detail, with info such as inputs, outputs, general details, logs, and more.
You can run multiple functions at the same time, and you can make changes to the configuration by creating a new function, without needing to redeploy the function code again.
Notes & Variations:
Remember to give allowance to the settler of the token you are going to be spending. In this example USDC, you can go to the smart contract on basescan, connect your wallet, and add approval to the Mimic settler: 0x609d831c0068844e11ef85a273c7f356212fd6d1
Variations:
- Change
usdcandwethaddresses for any token pair (ERC-20 in supported networks). - Adjust
cronschedule (e.g. daily, biweekly). - You can add
recipientto the manifest to send into a different wallet.
👉 With this setup, you’ve created a repeatable DCA flow inside your wallet using Mimic Protocol.
DCA is Only the Beginning
With Mimic Protocol, setting up a DCA strategy is no longer about writing and maintaining bots, custom scripts, or handing funds over to custodial services. You define the rules once in a function, sign them, and let Mimic relayers execute on your behalf, directly from your wallet or treasury.
But Mimic Protocol can be used for many other use cases around blockchain automation: auto-investing, yield auto-compunding, wallet rebalancing, fee management, and many more!
Stay tuned for future guides and details on what automation can unlock onchain. Mimic is the automation engine for Web3!
Get alpha access to Mimic Protocol by clicking below 👇

Start simplifying how you code, execute, and scale blockchain projects. Let automation handle the busy work while you focus on building.
🐦 X (Twitter) | 📚 Documentation | 💬 Discord | 🌐 Website | 🌀 Farcaster | 💼 LinkedIn