Mimic is a developer platform for building blockchain applications, agents, and protocols faster and easier.
You can write what should happen onchain and when in simple, familiar code, without having to deploy smart contracts, or manage servers, nodes, wallets, keys, scripts, or bots.
Why use Mimic
Mimic removes the friction of traditional blockchain development, enabling developers to build and scale onchain with greater speed, confidence, and operational clarity, while retaining full transparency and control over how things should work.
With Mimic, teams can:
- Build onchain in less steps
- Express business/product logic in familiar code
- Run that logic with security guarantees
- Easily scale across chains
- Replace cron jobs, scripts, and bots
- Access powerful onchain automation
Understanding Mimic quickly
In Mimic, you create what we call functions: executable logic that runs on demand without managing servers or infrastructure.
Then we have a project, which is a group of different functions. For advanced use cases, when a single function doesn’t cover the entire workflow, or as a way to use a function in multiple use cases without having to write a new one from scratch.
Inside each function you can set up different triggers (price, events, thresholds, etc.) and also policies (onchain constraints that limit what can be executed on a user’s behalf).
The Mimic workflow
The process consists of the following steps:
- Start your function: start a working directory to create your function.
- Define the manifest: it’s a .yaml file where you write the metadata (name, description, version), parameters, and other things.
- Generate types.
- Write the function logic.
- Build: validate and compile the function logic.
- Deploy: upload your build to the Mimic registry, so it’s available to execute.
Let’s start using Mimic!

1. Start your function
Let's start a new working directory to develop your function. To do that you can run the following command:
npx @mimicprotocol/cli init ./my-mimic-task
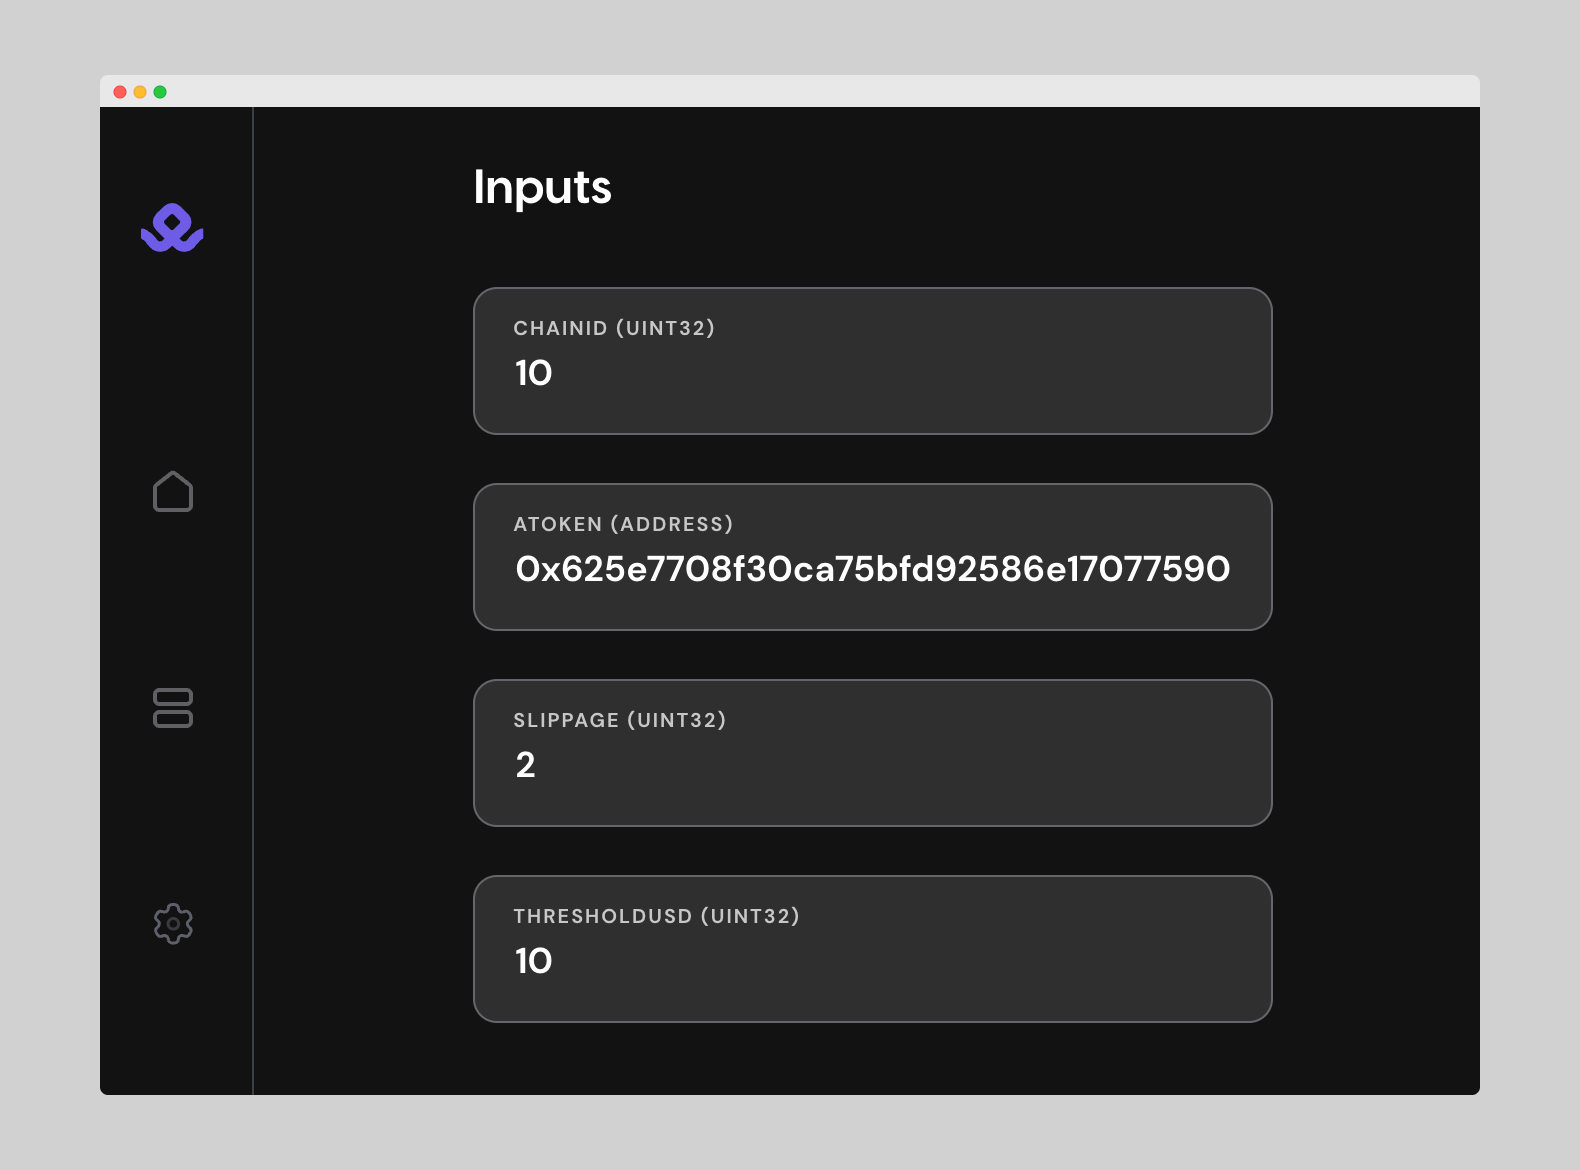
2. Define the manifest
The manifest file provides the configuration for your task, including:
- Metadata: Name, description, and version of the function.
- Inputs: Parameters required by the function logic.
- ABIs: Smart contract ABIs (description of a contract’s public interface) to generate type-safe interfaces for the task.
The manifest can be located in your working directory as a manifest.yaml file.
Here is an example on how the manifest looks like:
version:1.0.0
name:Transfer based on USD threshold
description:Automated task to execute parameterized transfers based on balance threshold in USD
inputs:
  -chainId:uint32
  -token:address
  -amount:string# e.g., '10.2' = 10.2 of the given token
  -recipient:address
  -maxFee:string# e.g., '0.01' = 0.01 of the given token
  -thresholdUsd:string# e.g., '30.5' = 30.5 USD
abis:
  -ERC20:./abis/ERC20.json
This manifest file defines different inputs that will be accessible from the task logic code thanks to the types generation process that will be explained in the next section.
For a more detailed explanation about the manifest, check our documentation.
You can also find different examples of manifests here: https://github.com/mimic-protocol/examples/tree/main/examples
3. Generate types
This steps allows you to validate the manifest definitions and generate the corresponding code to access both your declared inputs and the contract objects for your declared ABIs.
To do this you can run the codegen command using the CLI:
yarn mimic codegen
4. Write the function logic
This is the main point of Mimic: focusing on what you want to happen, and when. Inside each function, you can write different types of triggers, schedules, events, etc.
In this step you are going to expand what you defined in the manifest.yaml.
The function logic is implemented in AssemblyScript and must export:
- Input type: The generated
inputstype from the manifest.. - Main function: The core function logic, which receives the inputs as an argument.
For now Mimic functions allows creating three types of intents:
- Transfers
- Generic calls
- Cross-chain swaps
You can find different examples of functions here: https://github.com/mimic-protocol/examples/tree/main/examples
5. Build
The compile process converts your task logic and manifest into deployable artifacts. Basically it takes your manifest and function logic and transforms it into something you can upload to the Mimic registry to run at any time you want.
For this, just run the compile command:
yarn mimic compile
6. Deploy
Once your function has been compiled into an artifact, you can upload it to the network so others can discover it.
To do this you can run the deploy command using the CLI:
yarn mimic deploy --api-key [DEPLOYMENT_KEY]
You can generate a deployment key from the explorer app:
Just go to: https://protocol.mimic.fi/
Login using your wallet, and click on “generate API key”.
Once you have it, keep it secure and don't share it publicly.
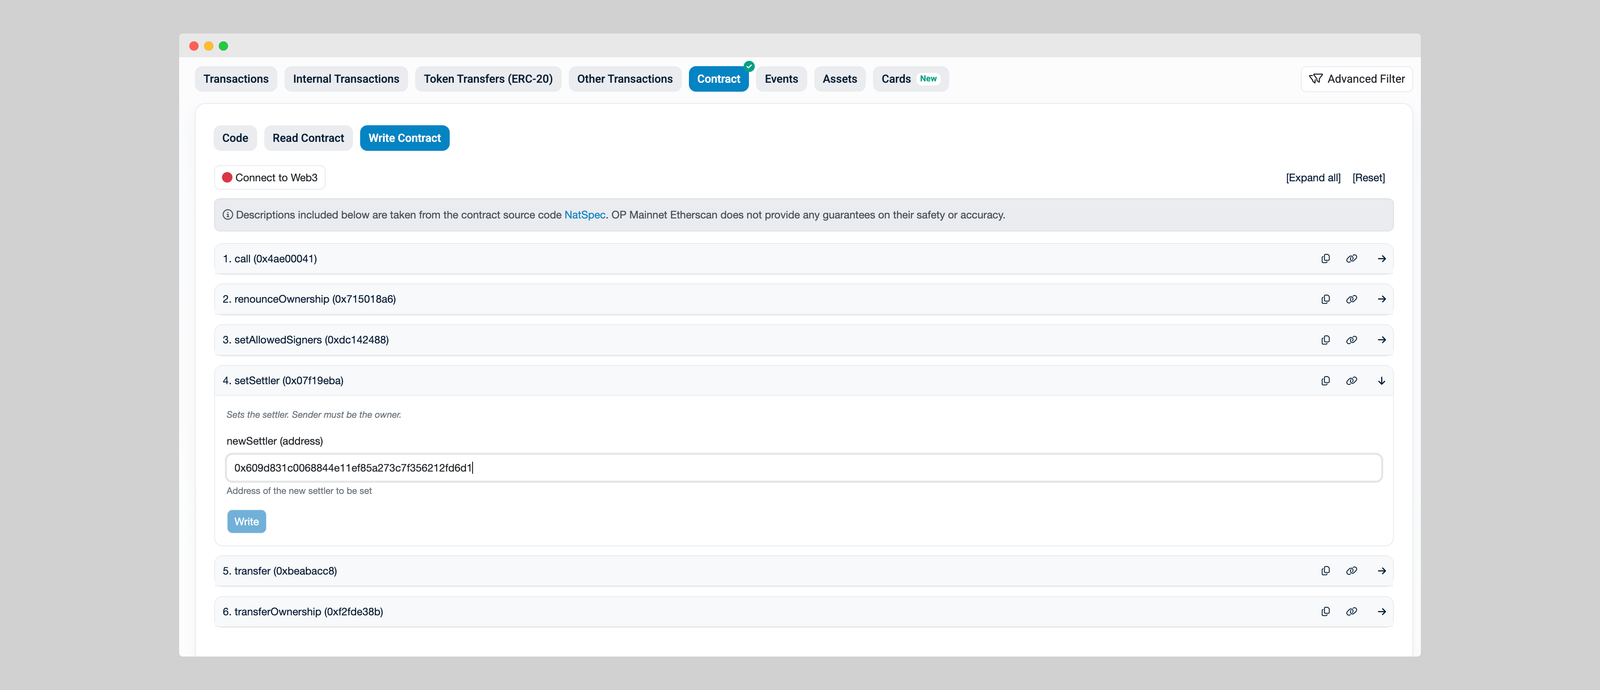
7. Give allowance to the Mimic settler
Before you configure your task in the dashboard, you must allow the Mimic Settler to spend tokens on behalf of your smart account.
If you created a smart account through the Mimic dashboard, you are set. If you have a different type of smart account:
- Open your network’s block explorer and find your smart account contract.
- Connect your wallet.
- Set the Mimic Settler in "setSettler".
- Approve the contract so it can manage the tokens needed for your task.
Mimic Settler contract:
0x609d831c0068844e11ef85a273c7f356212fd6d1
8. Configure your function
After deploying your function, you can now configure it to tell which config relayers should use to run your task. This means defining the parameters declared in your manifest.yml file.
This configuration is done in the explorer UI where you will be requested to sign your config with your wallet.
- Open the explorer and locate the function you just deployed under the function section.
- Add or edit your config parameters
- Sign the new config
This signature ensures relayers know the config is authorized by the task owner.
You can update or deprecate this config at any point in time to reflect changes, without needing to redeploy the task code again. Just sign the new config in the explorer, and relayers will pick up the latest version.
Start building with Mimic!
That’s the basics of building with Mimic. In future blogs we’ll go deeper into advanced functions, cross-chain execution, and real production use cases.
If you’re ready to build, head to docs.mimic.fi!